Direction to Use
Using the Younique Macro Lens 75mm for Dental Photography
- Prepare Your Equipment: Ensure you have your dental camera or smartphone with the appropriate adapter ready. Make sure your lens is clean and free from any dust or smudges.
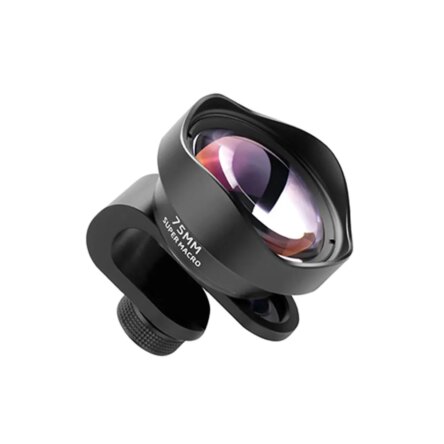
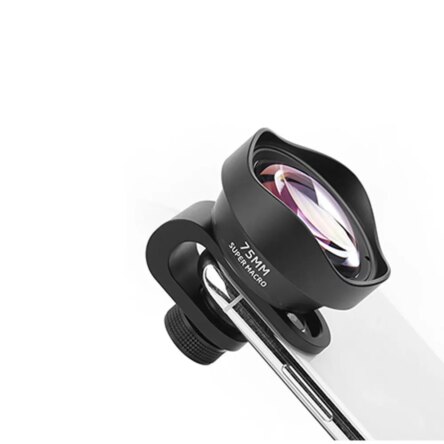
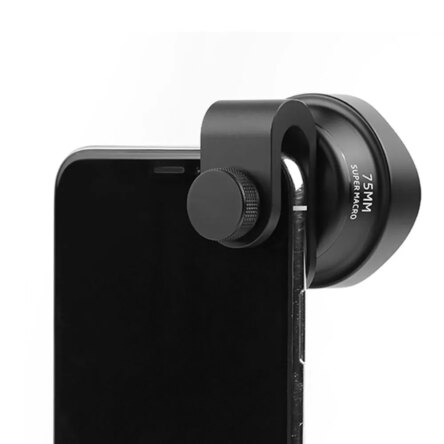
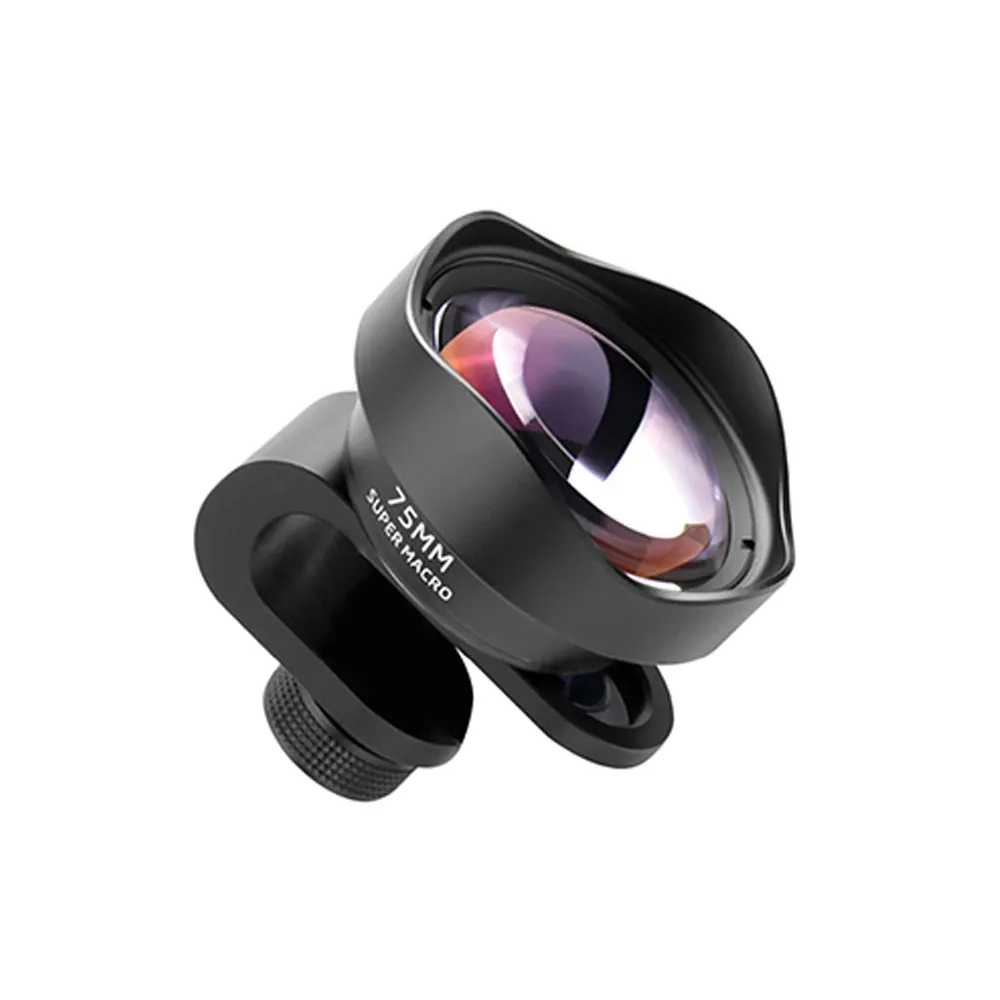
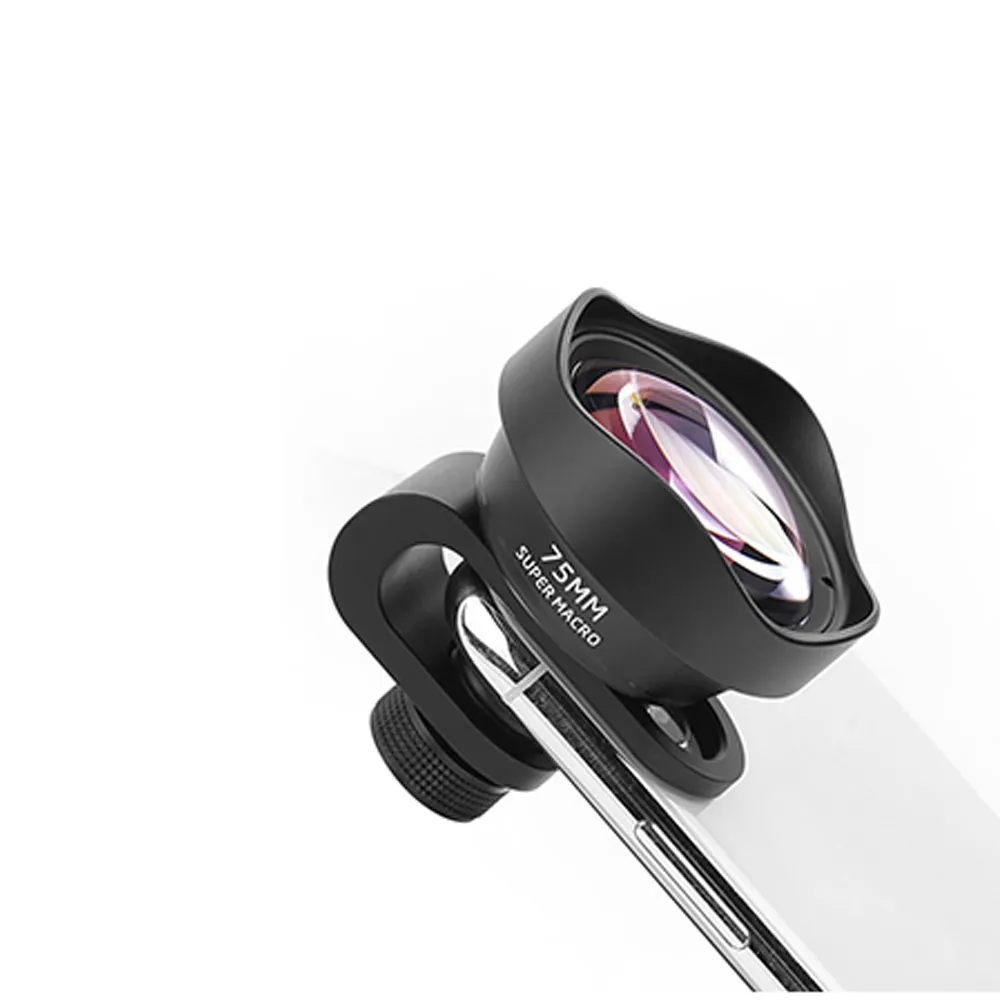
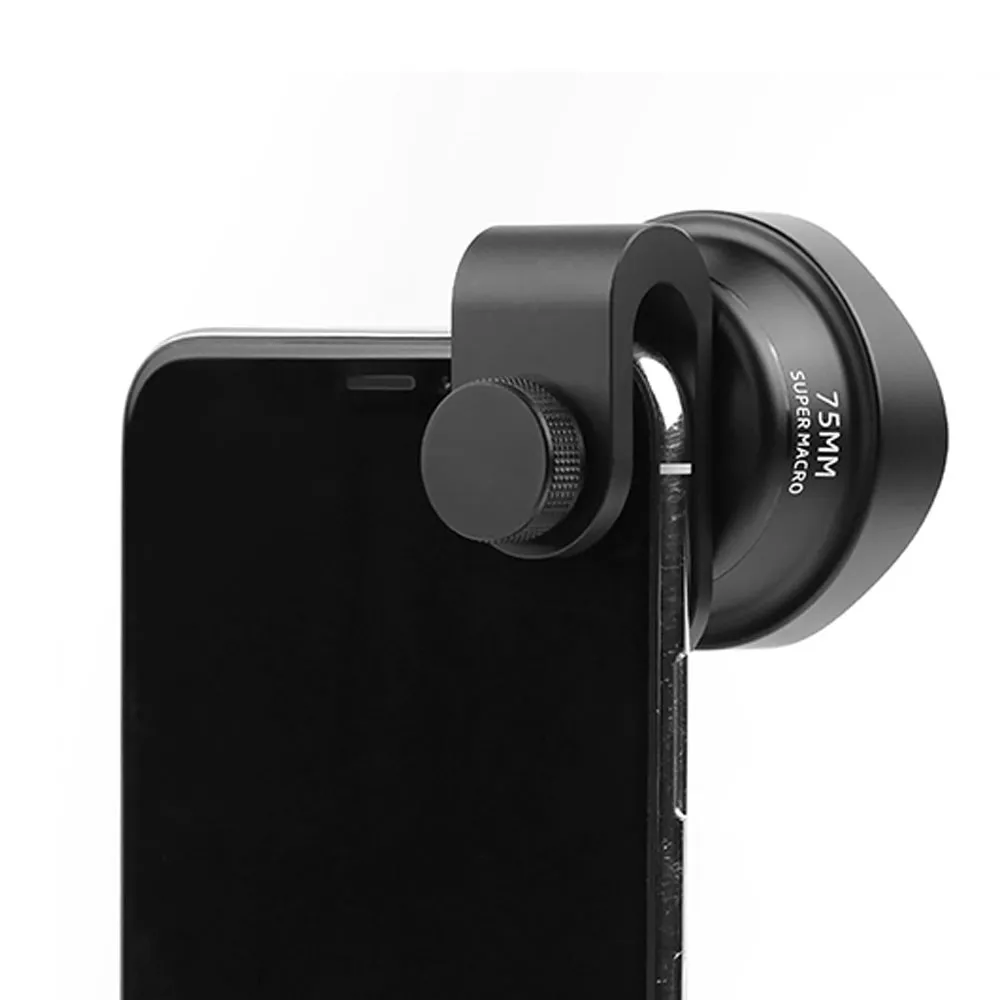
- Attach the Macro Lens: Carefully attach the Younique Macro Lens 75mm to your dental camera or smartphone adapter. Align it securely with the camera’s lens port.
- Focus and Framing: Position the lens at an appropriate distance from the dental subject you want to photograph. This distance is typically around 75mm from the subject for optimal results. Adjust the focus of your camera to ensure the subject is sharp and clear.
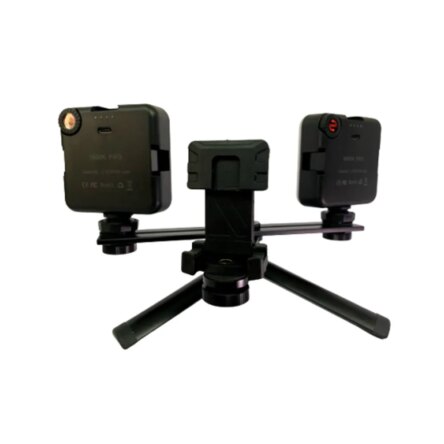
- Lighting Considerations: Pay attention to the lighting in your dental workspace. Adequate and even lighting is crucial for high-quality dental photography. Consider using auxiliary lighting if necessary to eliminate shadows and ensure even illumination.
- Capture the Image: With the Younique Macro Lens 75mm in place and your camera correctly focused and framed, capture the image. Steady your hand or use a tripod if needed to avoid blurriness.
- Review and Adjust: Review the captured image on your camera’s screen. Make adjustments to focus or framing if required to ensure that you’ve captured the necessary details and quality.
- Store or Share: Save the captured images on your device or transfer them to your preferred storage medium. You can also share them with colleagues or patients for documentation and treatment discussion.
- Maintenance: After each use, carefully detach the Younique Macro Lens 75mm from your camera or adapter. Store it in a safe and clean environment to prevent scratches or damage.

