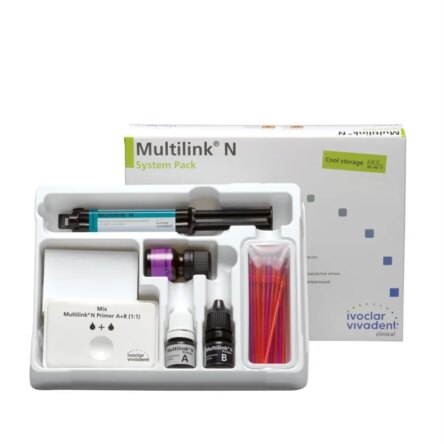
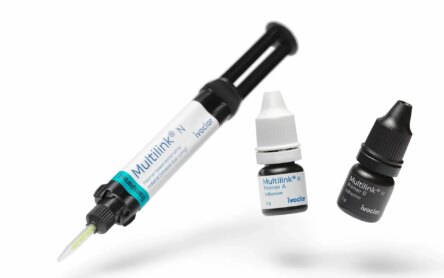
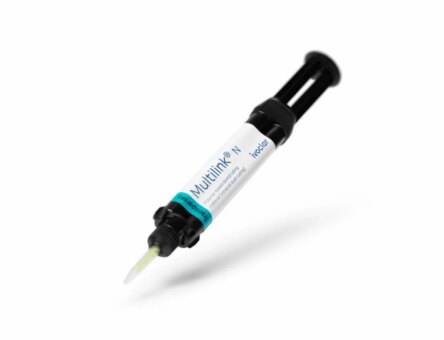
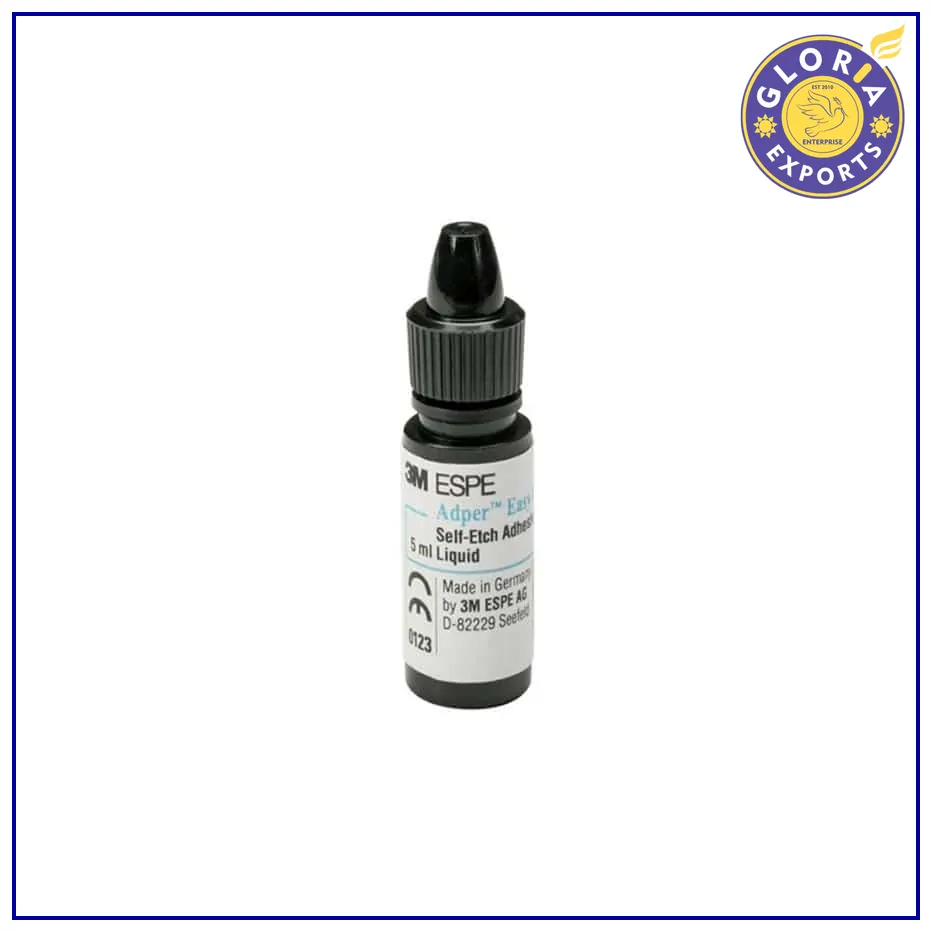
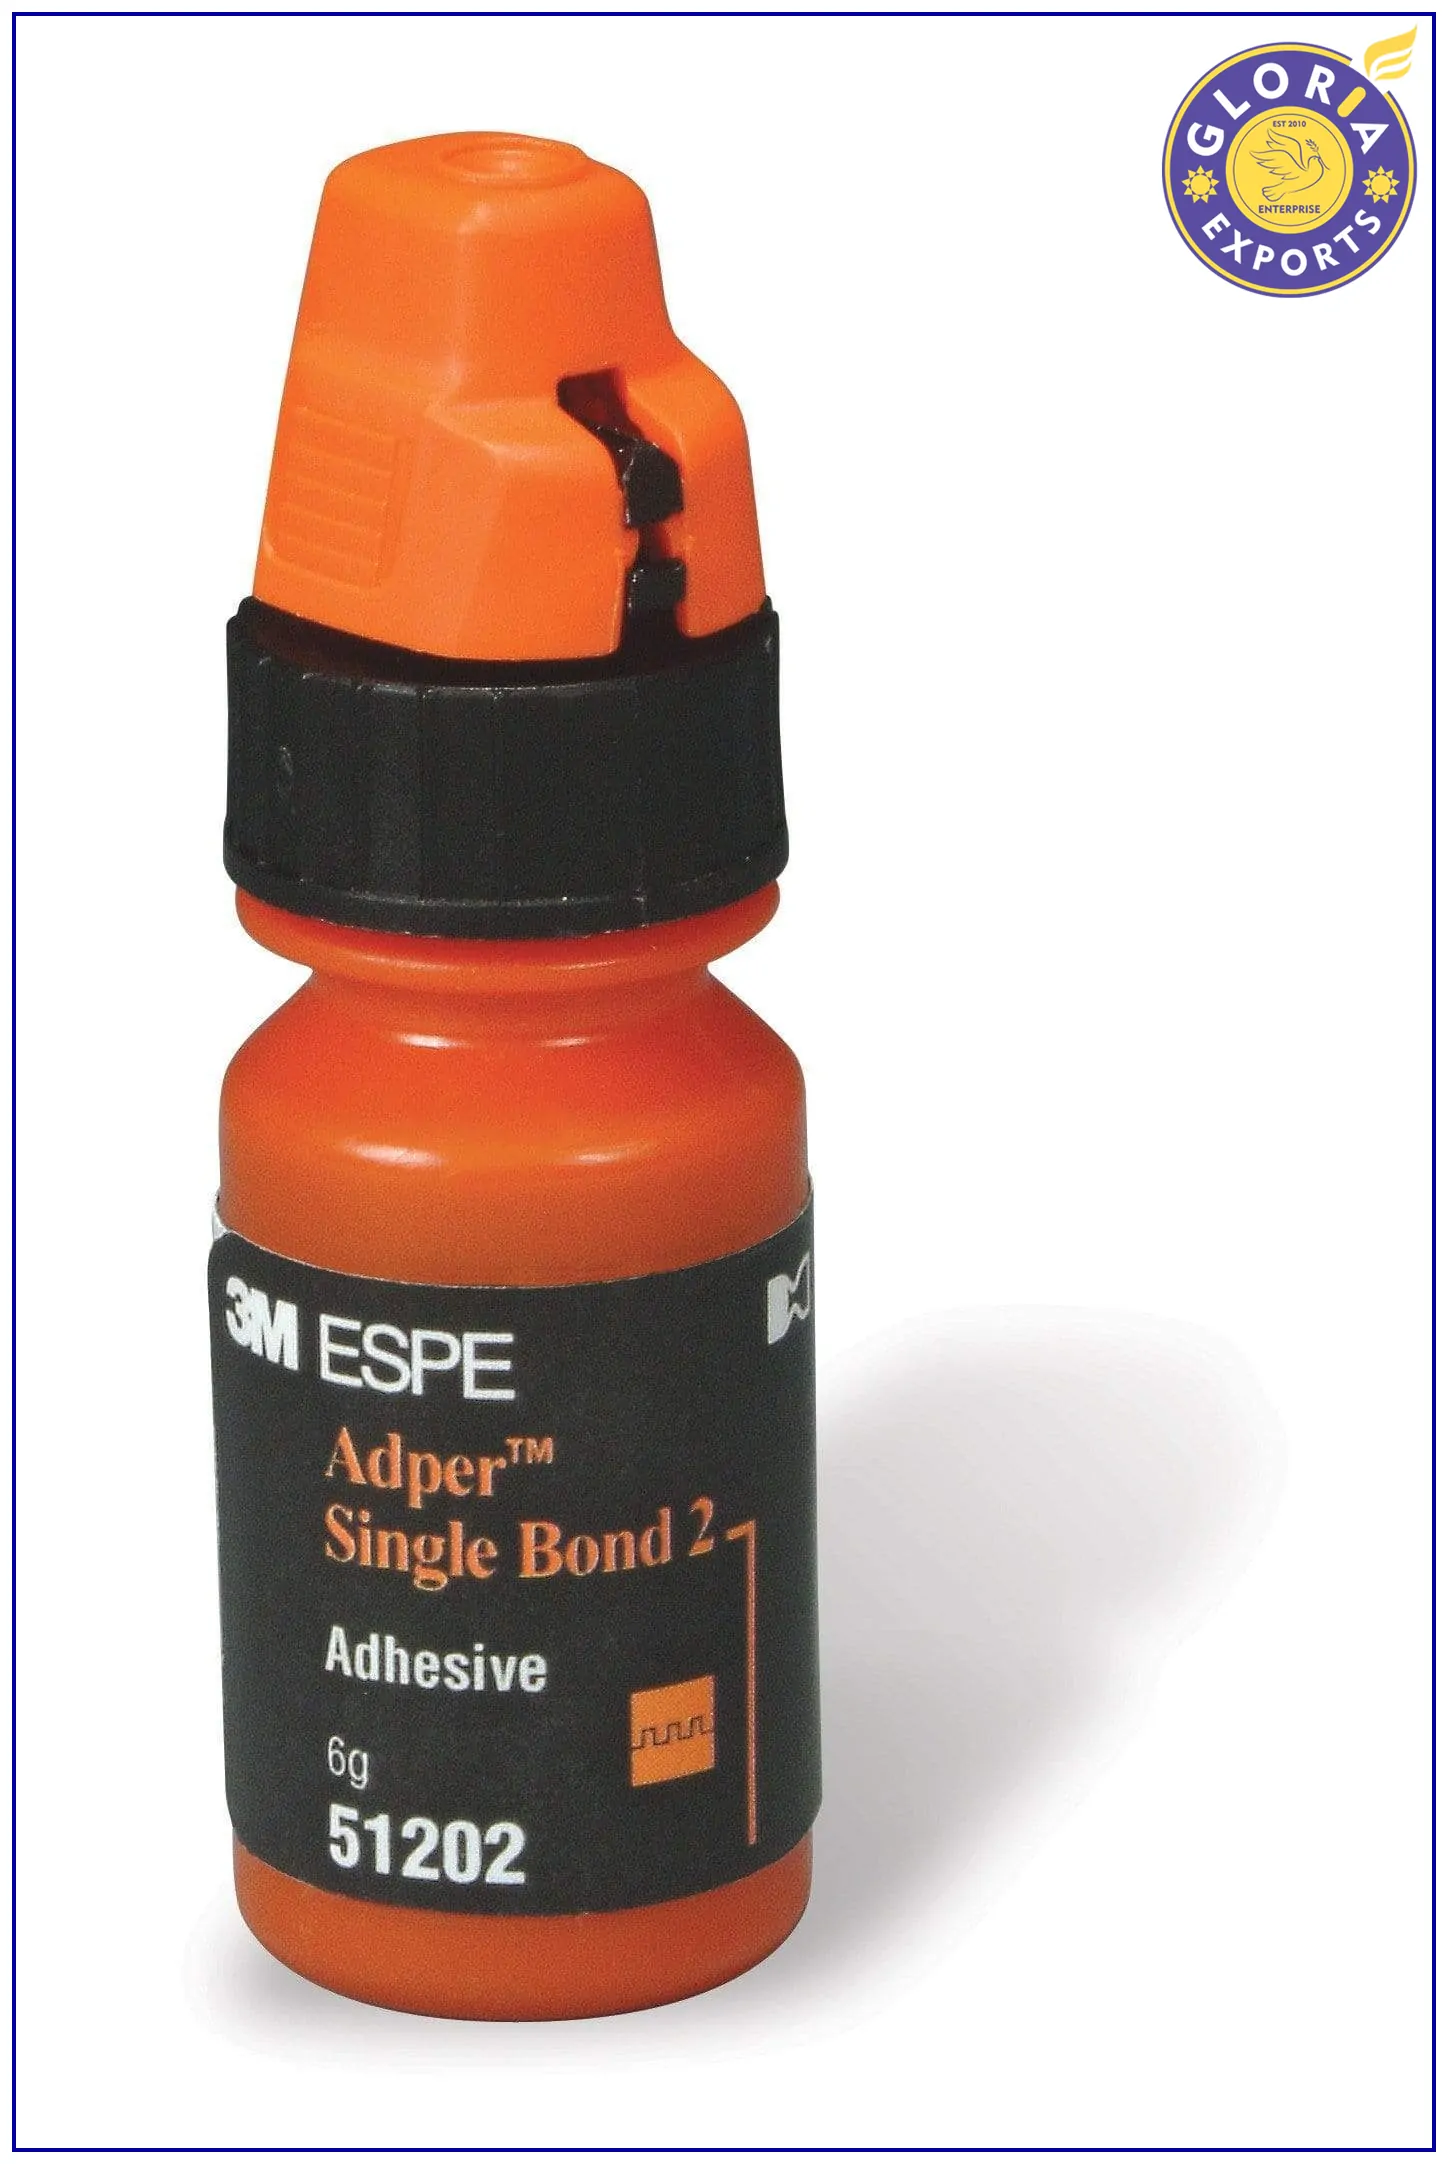
- 1 x 6g Multilink N
- 10 x Mixing tips short tapered
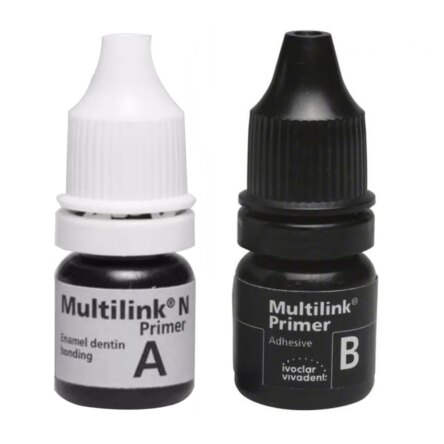
- 1 x 3g Multilink N Primer A
- 1 x 3g Multilink N Primer B
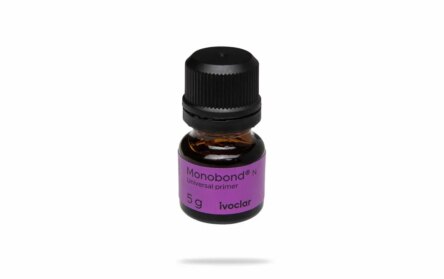
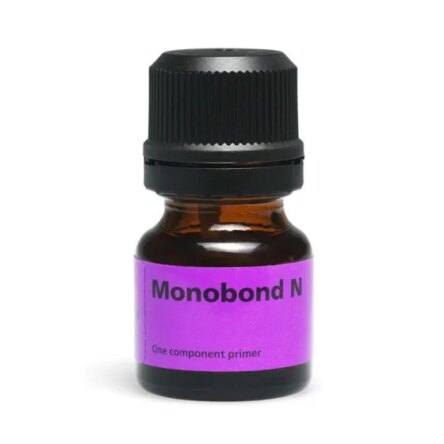
- 1 x 5g Monobond N
- Various accessories
Direction to Use
Removal of Temporary Restoration and Cleaning of the Cavity:
- Remove any residue of the temporary luting cement from the cavity or preparation using a polishing brush and an oil and fluoride-free cleaning paste.
- Rinse with a water spray and dry with air that is free of water and oil. Avoid over-drying.
Try-In of the Restoration and Drying:
- Check the shade, fit, and occlusion of the restoration.
- Make necessary adjustments with fine diamonds if required. Be cautious with fragile ceramic objects.
- If using an adhesive luting protocol with composites, ensure safe isolation of the operating field (e.g., rubber dam or cotton rolls with a saliva ejector).
Pre-Treatment of the Restoration:
- Rinse the restoration with a water spray and dry it with oil-free air.
- Thoroughly coat the bonding surface of the restoration with Ivoclean using a micro brushor brush.
- Allow Ivoclean to react for 20 seconds, rinse with water spray, and dry with oil-free air.
- For certain restorations (e.g., lithium disilicate glass ceramics or zirconium oxide ceramics), apply Monobond N to cleaned surfaces using a brush or micro brush. Allow it to react for 60 seconds and disperse with a strong stream of air.
Mixing of Multilink N Primer A and Multilink N Primer B:
- Mix the two primer liquids (Multilink N Primer A and B) in a 1:1 ratio (e.g., 1 drop Primer A and 1 drop Primer B). The mixed primer is solely self-curing and must be applied within 10 minutes.
Application of the Mixed Multilink N Primer A/B:
- Apply the mixed Multilink N Primer A/B onto the entire bonding surface using a micro brush, starting with the enamel surface, and scrub it in for 30 seconds.
- Disperse excess with blown air. No light-curing is necessary.
Application of Multilink N to the Restoration:
- Place a new automix tip on the syringe for each application.
- Dispense Multilink N from the automix syringe and apply the desired amount to the restoration.
- Replace the mixing tip with a new one before the next use.
Placement of the Restoration and Removal of Excess Cement:
- Seat the restoration in place and secure it.
- Remove excess material immediately with a micro brush, brush, foam pellet, dental floss, or scaler.
- For self-curing with additional light-curing (quarter technique), light-cure excess cement in quarter segments.
- Remove excess rapidly in challenging areas (proximal areas, gingival margins, pontics).
- Light-cure all the margins again for 20 seconds.
Finishing of the Restoration:
- Finish the cement joints with preparation diamonds if necessary.
- Polish restoration margins/cement joints with suitable polishers and finishing and polishing strips.
- Check occlusion and function and make adjustments if necessary.

