Direction to Use
Setup:
- Connect the intraoral camera to the appropriate power source, ensuring it is properly charged or connected to a power supply.
Connectivity:
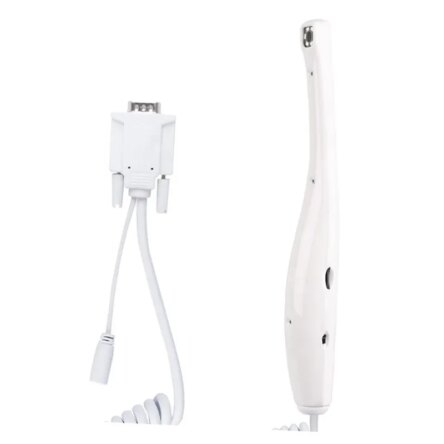
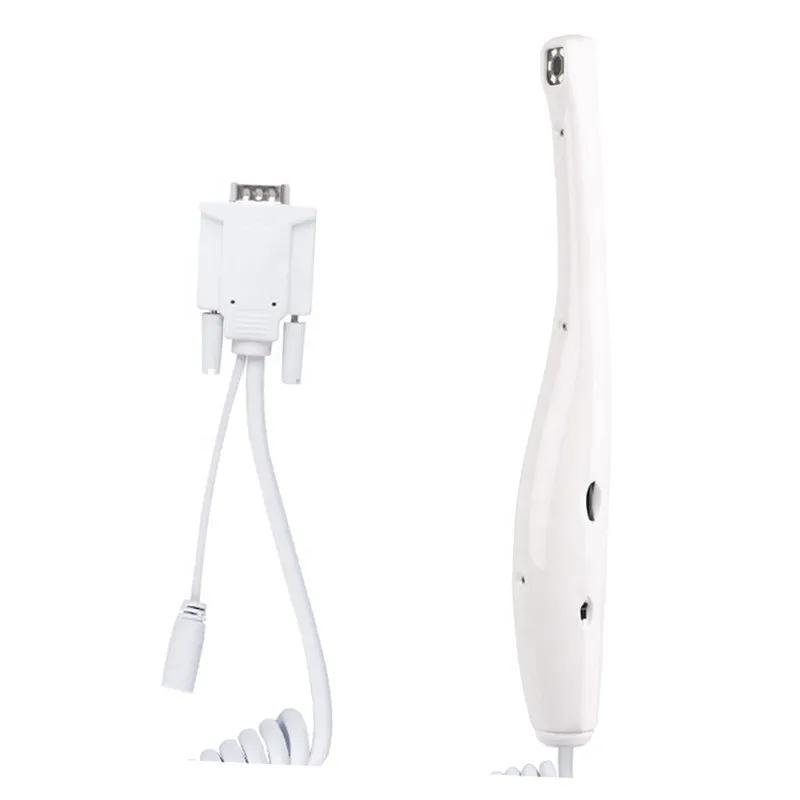
- If the camera has TV connectivity, ensure that it is properly connected to the TV using the appropriate cables (VGA, RCA, or S-Video, depending on the model).
Power On:
- Turn on the intraoral camera using the power button or switch.
Focus Adjustment:
- If the camera has a variable focus mechanism (dial or slide), adjust the focus to get a clear image. This might involve adjusting the focus ring on the camera.
Lighting:
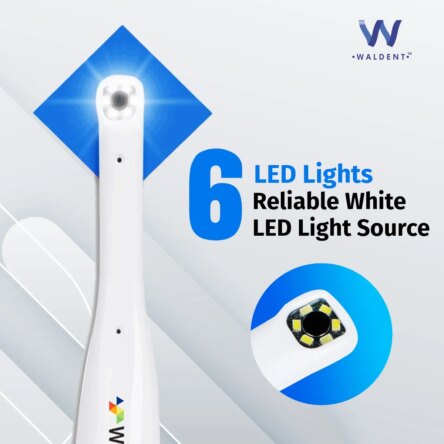
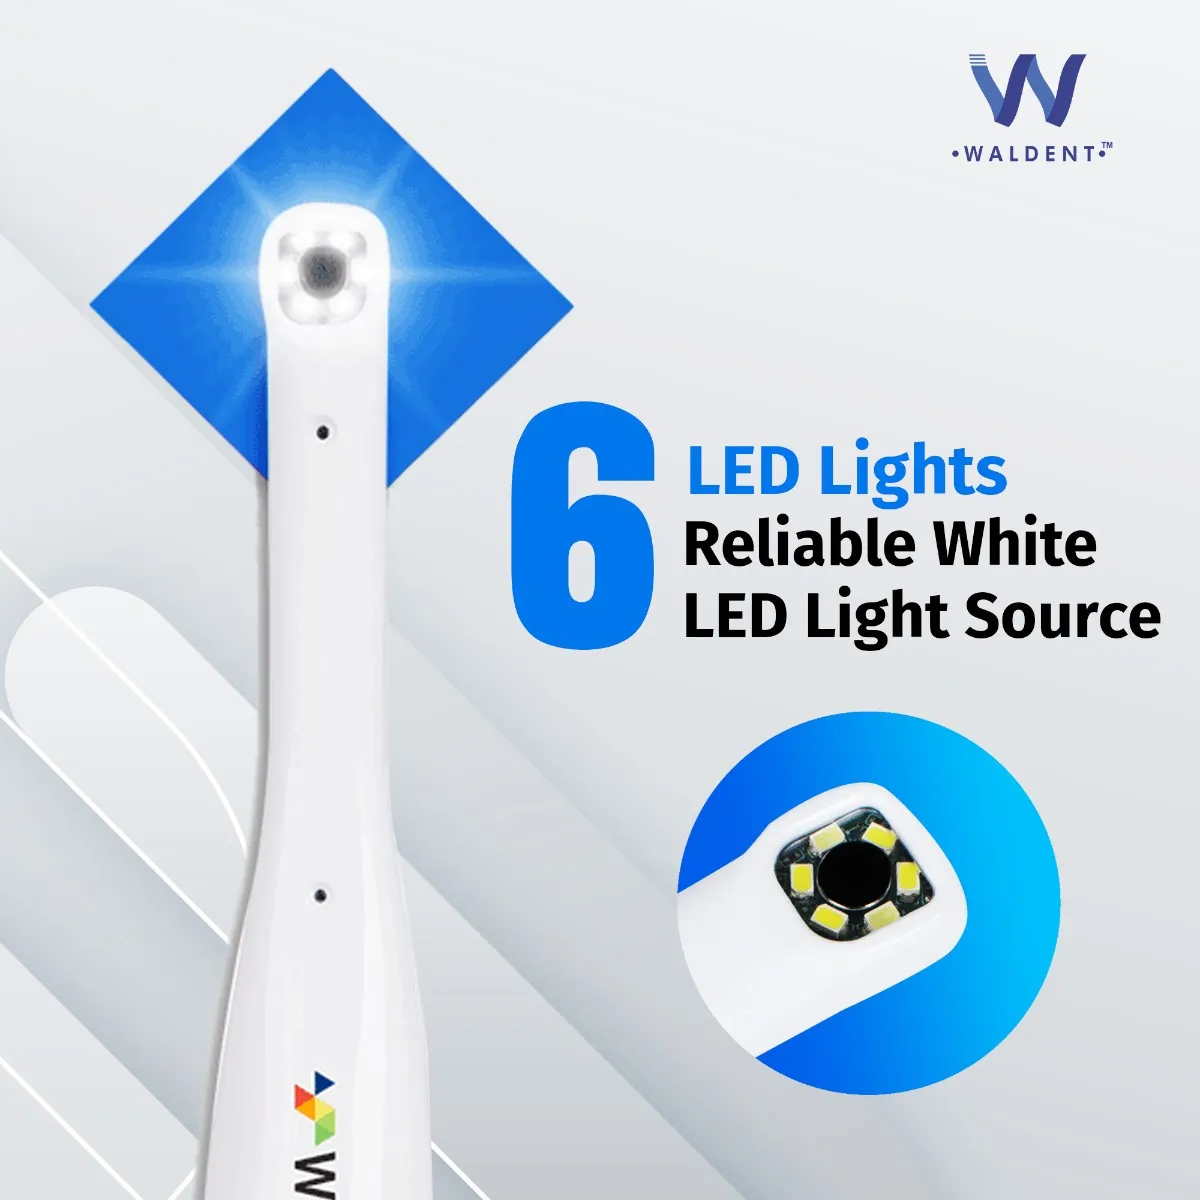
- Ensure that the LED lights on the intraoral camera are turned on for proper illumination. Adjust the intensity of the lights if the camera provides this feature.
Capture Images or Videos:
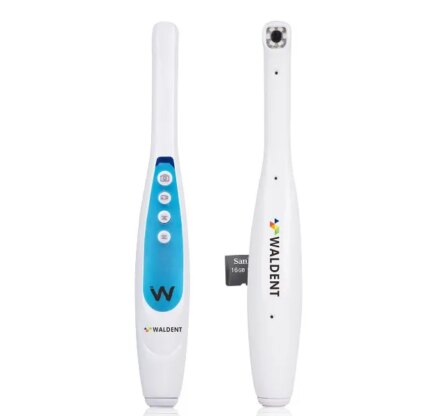
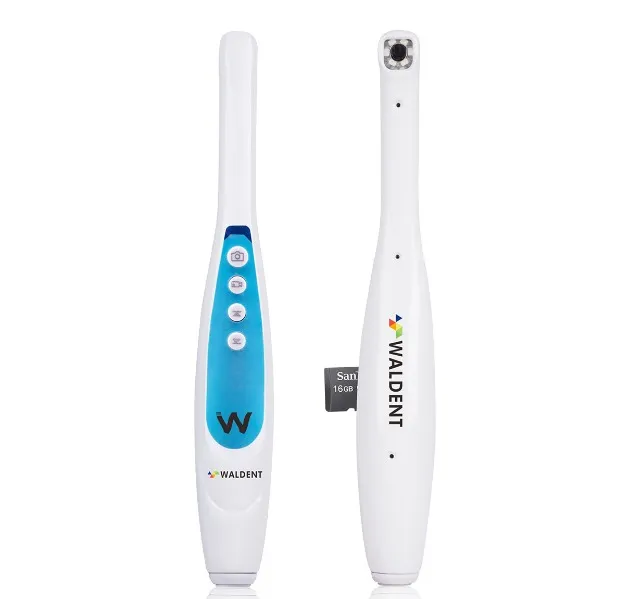
- Use the designated controls on the intraoral camera or any provided accessories (such as footswitches) to capture images or record videos. Some models might have a fingertip image capture feature.
Angle Adjustment:
- If the camera has different angles of view (0° or 90°), adjust the camera angle as needed for the specific area you are imaging.
Attachments:
- Attach any specialized accessories such as the 45° mirror attachment, periodontal pocket probe attachment, or attachments for single tooth close-ups as needed.
Storage:
- If the camera has an SD card slot for storage, ensure that an SD card is properly inserted. Save captured images or videos to the SD card for future reference.

